Every perfect pizza begins long before it meets the flame. Behind the blistered crust and open crumb lies a quiet process — time, temperature and a living dough that slowly comes to life.
The biga method is one of Italy’s most respected dough techniques. Used by master pizzaiolos for generations, it relies on a slow pre-ferment that builds strength, flavour and lightness. Over seventy two hours, this dough develops the complexity and texture that define true artisan pizza.
What is a Biga?
A biga is a firm, pre-fermented mix of flour, water and yeast. It’s drier than a poolish or sourdough starter and ferments slowly to develop strength and depth of flavour. When incorporated into the final dough, it creates the balance of chew and crispness that makes Italian pizza irresistible.
This recipe is known as 100% biga, because all the flour is used in the pre-ferment.
Choosing the Right Flour
The quality of flour is essential to this recipe. A true Neapolitan-style dough needs Italian 00 flour with a high protein level to develop elasticity and structure through long fermentation.
We recommend using Le 5 Stagioni Pizza Napoletana 00 Flour — finely milled, beautifully balanced and perfectly suited to high temperature pizza ovens.
Ingredients
For the Biga
1kg Le 5 Stagioni Pizza Napoletana 00 Flour (100%)
450g water (45%)
10g yeast (1%)
For the Final Dough
210g cold water (21%) — including the biga water gives total hydration of 66%
25g fine sea salt (2.5%)
10g malt (1%)
Day 1 — Make the Biga
Using a large bowl or plastic container, mix the flour, water and yeast by hand. The mixture should form a dry, lumpy texture, not a smooth dough — just ensure there’s no dry flour remaining.
Cover the container loosely with cling film and make a small hole to let it breathe, or cover with a lid leaving a small gap. Leave to ferment at 16 to 18 degrees Celsius for 16 to 18 hours.
By the next day, the biga should have a sweet, nutty aroma and a network of small bubbles across the surface — a sign it’s ready.
Day 2 — Make the Dough
Transfer all of the fermented biga into a dough mixer. Add the malt and 150g of the cold water, and mix on slow speed for 5 minutes to begin breaking down the biga.
Add the salt, then increase to a faster speed and mix for another 4 to 5 minutes, slowly adding the remaining 60g of water in small additions.
Throughout this process, use your ETI Infrared Thermometer to check the dough temperature — the ideal target is 23 to 24 degrees Celsius. Accurate temperature control ensures proper gluten development and consistency between batches.
Once the dough reaches temperature, give it a few gentle folds by hand to strengthen it, then rest for 20 minutes.
Divide into six dough balls of around 280g each. If sticky, wet your hands lightly rather than adding flour. Place each ball in an individual container (or on a covered tray) and refrigerate for 24 hours.
Day 3 — Final Proof and Baking
Remove the dough balls from the fridge 5 to 6 hours before baking, depending on the ambient temperature.
Allow them to come to room temperature for the final proof. The dough is ready when it feels soft, elastic and full of air — it should stretch easily without tearing.
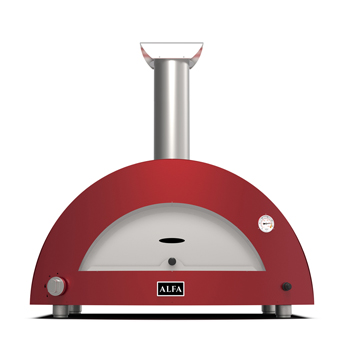
Preheat your Alfa Forni Pizza Oven to around 420 degrees Celsius. Dust the work surface with fine semolina and gently stretch the dough from the centre outwards, keeping the cornicione full and airy.
Add your chosen toppings — perhaps a simple Margherita with San Marzano tomatoes, mozzarella and basil.
Slide the pizza onto the hot stone using your Alfa Peel Set. The lightweight peels make it easy to turn and lift the pizza for even cooking, just like a professional pizzaiolo.
Bake for 60 to 90 seconds, turning once or twice for perfect colour. The result is a light, crisp base with a soft, open interior and the unmistakable flavour of long fermentation.
This dough takes three days, but the results speak for themselves. A delicate aroma, airy texture and golden blistered crust — the hallmarks of real Italian pizza.
It’s not just a recipe; it’s a ritual of patience, craft and transformation.
New York pizza? Chicago pizza? Surely pizza is pizza, right. Wrong. These two iconic US cities have pizza at their heart, but they both have a very different take on pizza. And they are at the heart of a heated debate about which is the best. Passions run high. Late-night satirist Jon Stewart – a [...]
The ultimate surf 'n turf starter. - Dirty Scallops! Pizza ovens are perfect for grilling shellfish dirty on the hot oven floor. This recipe combines a spicy sausage with sharp grapefruit and seaweed butter for the ultimate surf n turf starter. Method You can cook these scallops in your pizza oven when it’s warming up [...]
Mastering Vegetables on the Beefer Grilling vegetables on the Beefer brings out incredible flavour, colour, and texture thanks to its professional-grade, top-mounted ceramic burner. This German-designed grill reaches up to 1500°F, similar to a salamander used in professional kitchens, allowing home cooks to enjoy restaurant-quality results with ease. The intense heat caramelises vegetables quickly, locking [...]
Grilling Duck Breast on the Beefer: Techniques and Recipes The Beefer brings professional-level grilling into your home with its 1500°F ceramic burner, similar to the salamander grills used in restaurant kitchens. This makes it the perfect tool for achieving the crispy skin and tender, juicy interior that makes duck breast such a delicacy. The Beefer [...]


The Art of Pizza – The 72 Hour Biga Dough
🍕 The Art of Pizza The 72 Hour Biga Dough
The patience of great pizza
Every perfect pizza begins long before it meets the flame. Behind the blistered crust and open crumb lies a quiet process — time, temperature and a living dough that slowly comes to life.
The biga method is one of Italy’s most respected dough techniques. Used by master pizzaiolos for generations, it relies on a slow pre-ferment that builds strength, flavour and lightness. Over seventy two hours, this dough develops the complexity and texture that define true artisan pizza.
What is a Biga?
A biga is a firm, pre-fermented mix of flour, water and yeast. It’s drier than a poolish or sourdough starter and ferments slowly to develop strength and depth of flavour. When incorporated into the final dough, it creates the balance of chew and crispness that makes Italian pizza irresistible.
This recipe is known as 100% biga, because all the flour is used in the pre-ferment.
Choosing the Right Flour
The quality of flour is essential to this recipe. A true Neapolitan-style dough needs Italian 00 flour with a high protein level to develop elasticity and structure through long fermentation.
We recommend using Le 5 Stagioni Pizza Napoletana 00 Flour — finely milled, beautifully balanced and perfectly suited to high temperature pizza ovens.
Ingredients
For the Biga
For the Final Dough
Day 1 — Make the Biga
Using a large bowl or plastic container, mix the flour, water and yeast by hand. The mixture should form a dry, lumpy texture, not a smooth dough — just ensure there’s no dry flour remaining.
Cover the container loosely with cling film and make a small hole to let it breathe, or cover with a lid leaving a small gap. Leave to ferment at 16 to 18 degrees Celsius for 16 to 18 hours.
By the next day, the biga should have a sweet, nutty aroma and a network of small bubbles across the surface — a sign it’s ready.
Day 2 — Make the Dough
Transfer all of the fermented biga into a dough mixer. Add the malt and 150g of the cold water, and mix on slow speed for 5 minutes to begin breaking down the biga.
Add the salt, then increase to a faster speed and mix for another 4 to 5 minutes, slowly adding the remaining 60g of water in small additions.
Throughout this process, use your ETI Infrared Thermometer to check the dough temperature — the ideal target is 23 to 24 degrees Celsius. Accurate temperature control ensures proper gluten development and consistency between batches.
Once the dough reaches temperature, give it a few gentle folds by hand to strengthen it, then rest for 20 minutes.
Divide into six dough balls of around 280g each. If sticky, wet your hands lightly rather than adding flour. Place each ball in an individual container (or on a covered tray) and refrigerate for 24 hours.
Day 3 — Final Proof and Baking
Remove the dough balls from the fridge 5 to 6 hours before baking, depending on the ambient temperature.
Allow them to come to room temperature for the final proof. The dough is ready when it feels soft, elastic and full of air — it should stretch easily without tearing.
Preheat your Alfa Forni Pizza Oven to around 420 degrees Celsius. Dust the work surface with fine semolina and gently stretch the dough from the centre outwards, keeping the cornicione full and airy.
Add your chosen toppings — perhaps a simple Margherita with San Marzano tomatoes, mozzarella and basil.
Slide the pizza onto the hot stone using your Alfa Peel Set. The lightweight peels make it easy to turn and lift the pizza for even cooking, just like a professional pizzaiolo.
Bake for 60 to 90 seconds, turning once or twice for perfect colour. The result is a light, crisp base with a soft, open interior and the unmistakable flavour of long fermentation.
Finish with a drizzle of EatAlfresco Extra Virgin Olive Oil and serve immediately.
The Reward of Time
This dough takes three days, but the results speak for themselves. A delicate aroma, airy texture and golden blistered crust — the hallmarks of real Italian pizza.
It’s not just a recipe; it’s a ritual of patience, craft and transformation.
Make it with EatAlfresco
Bring the taste of Italy to your home with:
🔥 The Alfa Forni 3 Pizze Hybrid Oven
🔥 The Alfa Peel Set
🔥 The ETI Infrared Thermometer
🔥 The EatAlfresco Extra Virgin Olive Oil Collection
🔥 The Le 5 Stagioni Pizza Napoletana 00 Flour (available from leading Italian food suppliers)
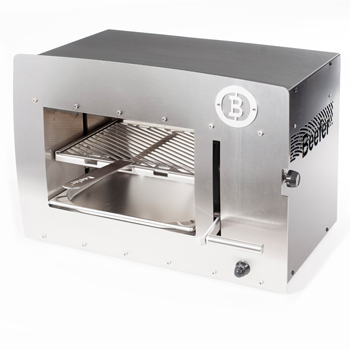
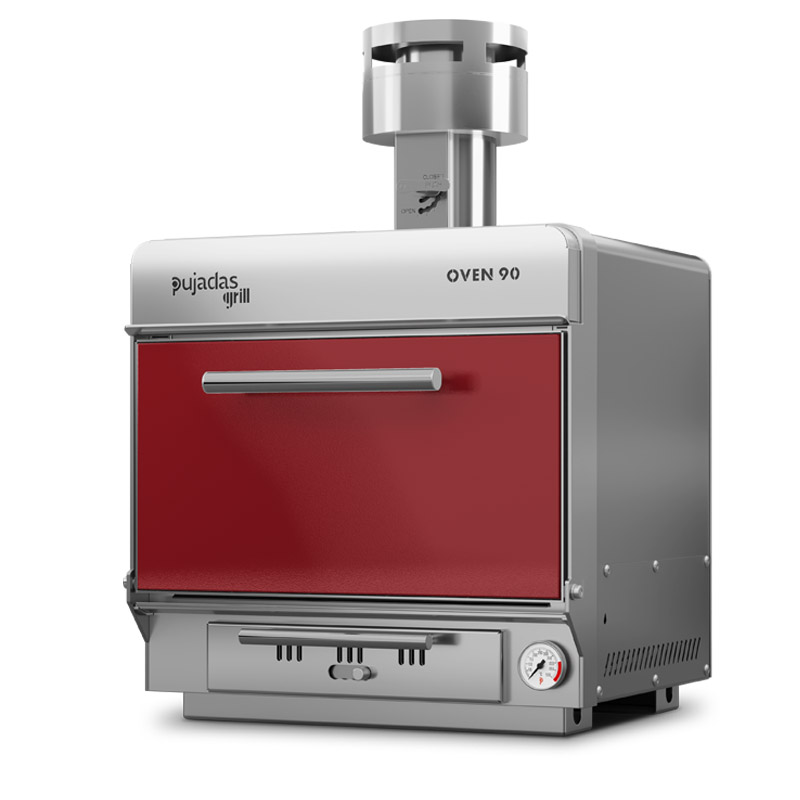
Alfa Forni pizza ovens | Flamery Asado grills | Beefer grill | Konro grills UK | Pujadas charcoal ovens | Blastcool outdoor fridges
Related Posts
What’s the difference between a New York and Chicago pizza?
Dirty Scallops
The Beefer Grill: Mastering Veggies
The Beefer Grill: Mastering Grilled Duck Breast